CREATING A FIREWALL
The Steve Dickson / Mammothfest shoot
The Steve Dickson / Mammothfest shoot
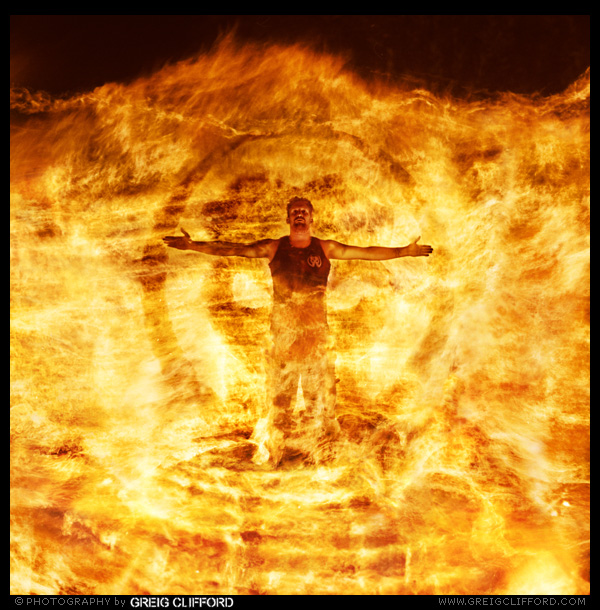
Fire is a difficult thing to properly expose for, to deal with large variations in brightness whilst keeping the exposure balanced with the surroundings. This is particularly difficult during night-time shoots. I have practised a lot over the years, trying to understand the effect of a flame's varying intensities, often using my own open fire at home. For larger scale fires I practised creating firewalls in the garden, honing the technique to eventually shoot my first firewall (as part of a band portrait) when I photographed the Metalcore band Kings...
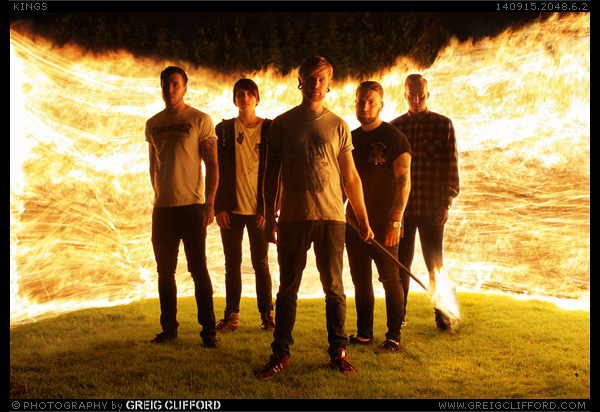
So how do you create a firewall to make this effect? Well, it's a long exposure shot with the fire 'painted' in, the same principle as with light painting photography or drawing in the air with sparklers on Bonfire Night. The key is making the tool to paint the fire with.
As mentioned before, you will need a long fire-proof pole. For the Kings shoot the pole I used was 3 metres long and made of metal. I then attached a metal chain to the end of it a little shorter in length (about 2.5 metres long). Attached from the pole and along the length of the chain (although not quite all the way to the chain end) was some ripped up cotton sheeting. I then soaked the sheeting with white spirit and lit it. The fire-proof pole ensures you remain a safe distance from the fire running the length of the chain while carefully walking through the scene to 'paint' the fire into the image. The chain is vitally important as it adds weight to the sheet to hold it down and make it controlable. Without the chain the sheet is likely to flap around and burn everything within distance (I know from experience!).
As you can see the Kings shoot was quite a simple set-up with a single wall of fire behind the band but for the shoot with Mammothfest's Steve Dickson I wanted the fire to look all consuming.

Above are some unprocessed test shots to get a feel for how the fire could be manipulated on the fire-proof pole... these ones were with 35mm film. The first 3 shots test movement, the 4th shot is a double exposure and the 5th shot is where areas of the ground are lit separately for brightness comparison.
It isn't the easiest of lighting sources to work with, especially if there is a breeze, and the light varies as the flames move. Also, when working outdoors in a wide space at night the light intensity drops over distance at a great rate (see Inverse Square Law). So although the fire itself is incredibly bright the light from it that falls on the actual subject becomes very dim only a short relative distance away - as seen in the top left photo. This creates difficulties achieving a good balanced exposure as it is very easy to have an image with fire that is overexposed and a subject underexposed. Therefore, a fill flash burst on Steve would be necessary to help balance the shot, to kill any underexposed blur and create a sharp focus on him.
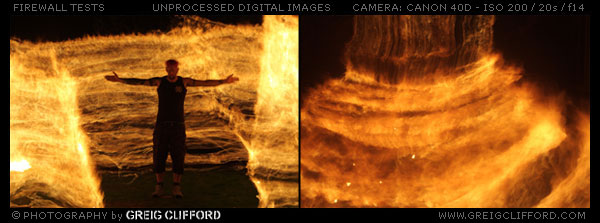
So after tests, I decided the image would be done in two stages as shown in the two images above... firstly the firewall would be worked around Steve standing in position as still as possible, with an additional coloured flash burst from either side to balance the exposure and light his body and face, then with Steve out of the shot the floor would be painted with fire to approximately waist height. For this another long chain was needed with a fire-proof pole attached to either end. This was so that the chain could be held between two people (one either side), to 'walk' the chain low across the floor. Working under pitch black conditions, the shutter could remain open the whole time until all steps were complete.
I used a three camera set-up, all shooting from the same place at the same time, for maximum options in post processing... a TLR Seagull 4a for medium format film, a Canon iiD rangefinder with Jupiter 8 lens for 35mm film, and the Canon 40D with 50mm lens for digital capture. I wanted to use Portra 400 film to capture the fire because it would render it in a much more pleasing way than the 40D could, especially regarding the tonal graduation to the highlights. However, I also wanted to capture digitally with the 40D for two reasons, mainly so I could immediately check after the exposure for any movement from Steve that might make the image unusable, but also to have a shot of him that was 'cleaner' than that from the analogue cameras, if required, as he would be relatively small in the frame. Incidentally, focusing with the two film cameras was made by measurement with a tape measure.
So, to the sequence for this shoot...
Firstly, mark out 'on-set' where the edges of the image will be so you know when you are in frame and when you are not. Then...
1 : Shutter open (bulb/timed setting)
2 : Light the sheeting on the long firepole (out of camera view).
3 : 20 seconds walk with firepole starting in front of Steve on the left side, walking around the back and to the right side to the front and back again, walking out of shot to the left extinguishing the fire in a firebucket.
4 : Lens cap on but keep shutter open while you set up the next stage.
5 : Lens cap off.
6 : With an assistant (Steve in this case) light the sheeting on the two handled firepole (out of camera view).
7 : 20 seconds dragging the fire across the floor and up to waist height, starting out of shot close to the camera and returning to the start point to extinguish the fire in a firebucket.
8 : Close shutter.
Note that so long as you wear dark clothes and move constantly you will not be exposed enough to show up on the image while walking around creating the firewall effects.
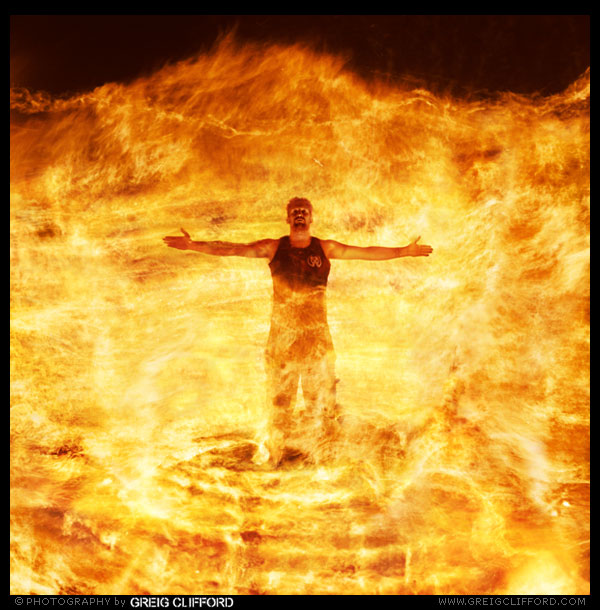
The final image at the top of the page had a Mammothfest logo burnt in to the fire in Photoshop.
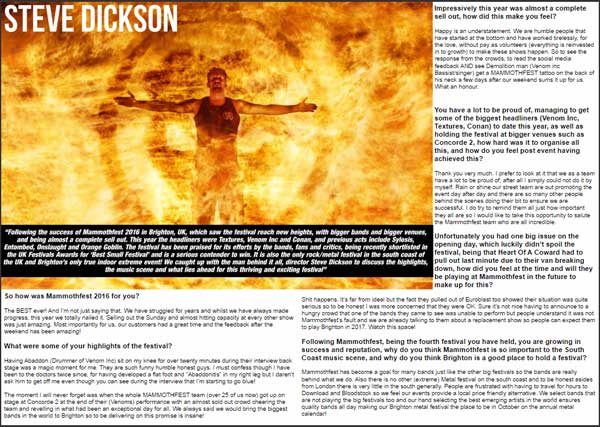
Below is how the image looked when published in Stencil Magazine to accompany an interview.
(Published 08/12/2019)

